It’s easy to transfer photos from a computer or laptop to an iPhone if you know what to do.
There are many ways to transfer photos from your computer to your iPhone. The best method is to use iCloud, Apple’s cloud storage service. But, without a dedicated Windows app, how can you do that?
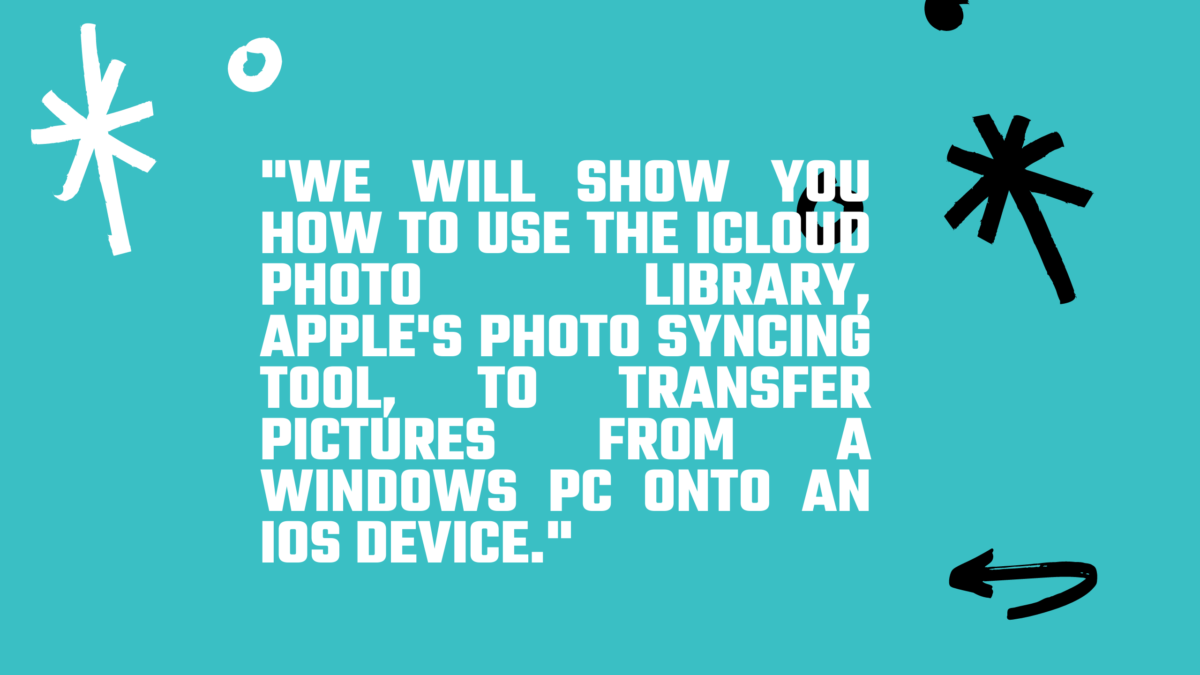
We will show you how to use the iCloud Photo Library, Apple’s photo syncing tool, to transfer pictures from a Windows PC onto an iOS device.
If you don’t have your 5GB free iCloud allowance, using iCloud to transfer photos will not cost you anything. If you have photos that exceed the 5GB limit, you will get a message when you try to enable iCloud Photo Library under Settings > Photos on your iPhone/iPad. It will say you don’t possess enough storage.
You will need to purchase additional iCloud storage in this case. It’s an affordable price for convenience at just 79p a month for 50GB.
Here’s how to transfer photos from your computer to your iPhone using iCloud or one of the other options.
How to transfer photos from your iPhone to your PC using iCloud
Apple uses iCloud to ensure that photos taken on iPhones are available on iPads and computers.
This is a great service and negates the need to use cables and syncing. But what if you want to transfer photos from your computer onto your iPhone? Is it possible? Yes, it is possible. However, the method will depend on which software you use.
You can upload and manage your photo collection via the iCloud website if your devices run iOS 8 or later. Here’s how it works:
- Navigate to redirectingat.com from your computer. Log in using your Apple ID.
- Click the Photos icon in the top row. You will need to complete the first setup if you access your photo library via a browser.
- Click the Upload button at the top-right and browse your computer for photos you wish to add to your iPhone. Hold CTRL to select multiple files simultaneously. Click each photo.
- After you have selected your photos, click Open/Choose to upload them to your iCloud Photo Library. You’ll notice a progress bar at the bottom of this page. This is normal, but it can vary depending on how many photos you wish to upload.
You’re done!
It is important to note that photos will be displayed chronologically. If you want to add photos taken in March, then you’ll need to scroll back to March to find them.
Alternative: Third-party cloud storage
If you are comfortable having your photos stored in another app than the stock Photos app, one option is to use a cloud storage provider such as Dropbox, OneDrive or Google Drive.
After you have installed the app on your iPhone, you will access all files in your cloud account. Many allow you to mark files that you wish to make available offline. You can also save photos and videos directly into your Photos app, so there’s no need to keep them on your computer.
An internet connection is required.
Uploading photos from your computer to Google Drive or Dropbox is easy. These photos can be viewed on your iPhone and downloaded or shared with friends.
Trade-in your old phones with NIX and leave with a brand new phone.
Remember, the NIX magic number is zero!! How close can you get? Come in and see.
Recycle your old phone with NIX and sign-up to our Premium Membership for even better prices and saving at NIX.
MEGA TIP: NIX Premium Members can trade in multiple devices at once to really reduce the price of the new phone.