Forget your wallet – use your phone.
Apple Pay’s beauty is in its classically Apple-like design. It is simple and elegant and combines your existing tech (an iPhone, iPad with Touch ID or Face ID or an Apple Watch) and a one-step payment process. Working much like a contactless card but quicker and safer than chip & PIN
Double-tap the power button of your iPhone to authenticate your identity using Face ID or passcode. Or, you can rest your finger on the Touch ID sensor on older models. You can then place your iPhone’s screen at the Apple Pay logo NFC terminal and put it on the iPhone’s top. It really is that simple.
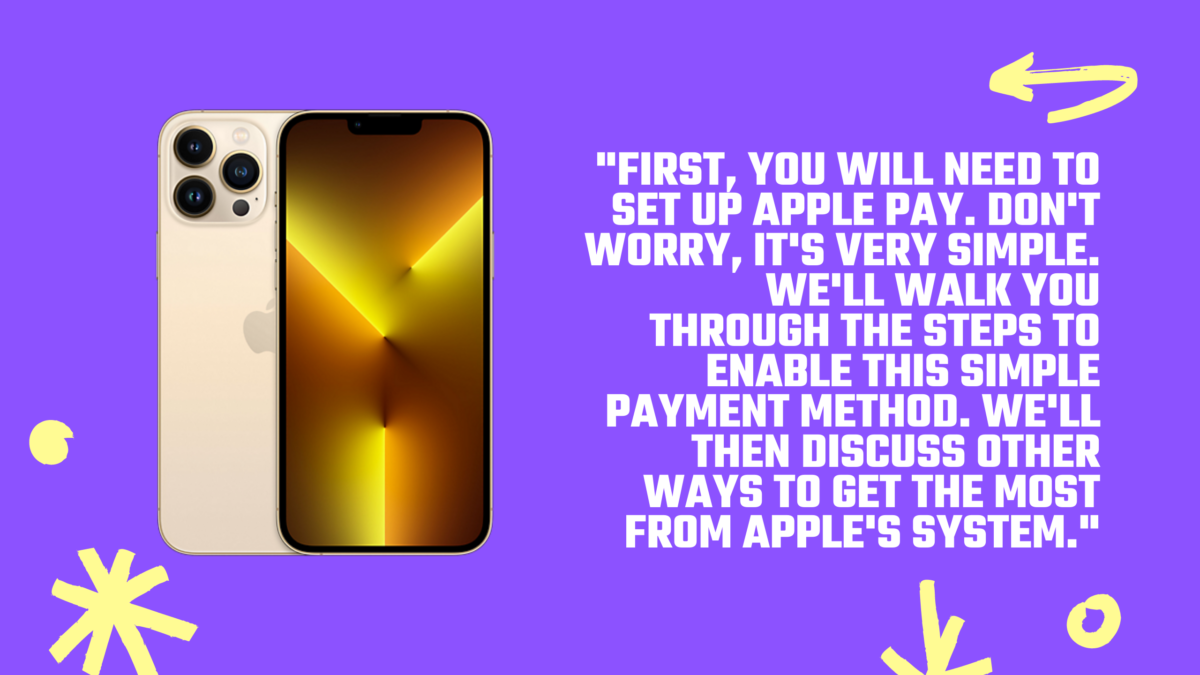
First, you will need to set up Apple Pay. Don’t worry, it’s very simple. We’ll walk you through the steps to enable this simple payment method. We’ll then discuss other ways to get the most from Apple’s system.
How do you set up Apple Pay for your Wallet?
Open Wallet (formerly Passbook), on your iPhone, and tap the +’ button at the top right. You can add a Credit Card or Debit Card to your Apple Card, as well as a transit card for specific cities.
Position your card using your phone’s camera. The details will be automatically imported by your phone, but you can add them manually. After verifying the details, hit ‘Next’ and then add your Security Code. Apple will then contact your bank to verify the information and prompt you to sign the Terms & Conditions.
You may be asked to confirm your identity using 2FA, depending on your bank account settings. You will now be able to use your card for Apple Pay. If you like, you can make it your default card.
You can then select ‘Done’ to return to the main Wallet menu to add new cards or tap the top-right ellipsis for the card’s individual settings. You can edit card notifications and add billing addresses, as well as delete the card completely.
How to Use Apple Pay
Apple Pay works easily once you have added a card. Double-tap the power button to prime your Apple Pay card. After verifying your identity using Face ID or a passcode, you can confirm your identity by tapping the power button again. For older phones, you can rest your finger on the Home button and validate your identity by pressing down.
Whatever way you go, the phrase “Hold Near Reader” will appear, allowing you to tap your smartphone against an NFC card reader compatible with your device. You should see the logo attached to the reader.
This method uses your default Apple Pay Card. If you want to select a different card from your wallet, open Apple Pay and tap your card. This will bring up all of your passports and cards. Tap the card you want to use, and it will validate your identity before you can use it.
How do I add rewards cards for Apple Pay?
Apple Pay isn’t just for credit card customers. Wallet apps are available at dozens of stores. You can program them to appear on your lock screen whenever you enter the store. This will allow you to earn rewards points before you even pay for your order.
Scroll down to the bottom of the Wallet app and tap ‘Edit Passes. Scroll down and click ‘Find Apps to Wallet’. This will bring up all compatible apps that work with Wallet, including Walgreens and Starbucks.
The next step is handled differently by each app. After logging in with your rewards account, you will see the option to add it as a card to Wallet. Tap the Rewards card followed by an ellipsis to activate the Automatic Selection function. The card will be displayed whenever you enter the store unless you have turned off your Location Services.
Apple Pay will automatically pull up your store rewards card, so you can pay for your cart. Apple Pay will then switch to your credit cards so that you can pay after you tap the rewards card.
How to use Apple Pay with your Apple Watch
Apple Watch and Apple Pay work well together. After pairing your watch with your iPhone, you will have the same access to cards as your iPhone. Just follow these simple steps.
Open the Apple Watch app to find Wallet & Apple Pay. The cards you have already registered will be displayed. Tap ‘Add’ to add any card to your Apple Watch and enter the CVV again to confirm. To add a card to your account, click Add Card. Your phone will guide you through the process.
Apple Pay is easier on Apple Watch than it is on an iPhone. Double-click on the side button, and your default card will be displayed without authentication. You can hold your watch in front of the card reader until the tone is heard and a pulse is felt. This confirms that the transaction has been completed.
Apple Pay with Express Transit
This section is for people who live in certain areas: London, NYC, DC, LA, Chicago and Portland.
Apple Pay offers an Express Transit mode. This allows you to tap your phone without the need for Face ID to activate a transit card, debit/credit card, or card. This will ensure that you don’t have to wait in line or miss your train while authenticating. Tap your watch or phone to feel a vibration.
The payment will be processed.
Open Wallet, tap the card you wish to use Express Transit to pay for a credit card and click on the ellipsis to open settings. Tap the ellipsis button to open settings. To make the default, choose any of the cards.
Only two cities allow you to add actual metro passes into your Apple Wallet as of early 2021: Los Angeles and Washington DC.
You can add a SmarTrip card to your Wallet by tapping +’, then Transfer Existing Cards’. TAP users will be required to add funds to their pass from Apple Cash or a debit card.
Apple Pay for online and in-app purchases
Some apps and websites offer a “Buy with Apple Pay” button, making it easy to complete the checkout process.
Click that button and all billing/ shipping addresses and contact information associated with your default card will automatically populate the fields. Fill in the information on your Apple Pay card if it doesn’t already have it. Apple Pay will store that information for you next time.
This transaction may not be for you. Tap the blue”>” icon next to your Apple Pay Card to bring up your options.
After reviewing the information, double-tap or place your finger on Touch ID to complete the transaction.
Setting up Apple Pay on macOS
Apple Pay is not available for your iPhone, even if you have the same iCloud account and Apple ID. It will need to be added separately.
Log in to your iCloud account. Open System Preferences, the Wallet & Apple Pay Menu, and then click ‘Add Card’. Click ‘Add Card’ to see all associated cards you have used for iTunes and App Store purchases. You can either choose one of them or add a new credit or debit card to insert another.
Apple Pay will now be available for purchase on your desktop or laptop, provided that you do not log out of iCloud. You’ll need to repeat this process if you log out.
When shopping online, select the Apple Pay button. To authenticate with your fingerprint or double-tap on the Touch ID to prompt you to verify your password, or tap the ‘Pay’ button in the Touch Bar to enter the password.
How to use Apple Pay through iMessage
Modern iPhones allow you to send and receive payments through iMessage. To set up Apple Cash, first go to your Wallet app. Tap the Apple Cash Card icon.
You will be able to accept the terms and receive money from iMessage to your Apple Cash account. You will need a debit card to pay other people or deposit money. You can send and receive money using Venmo for free. However, you will need to pay a fee to transfer cash from Apple to your bank.
Once you have your account set up, it is simple to use Apple Pay in iMessage. You can find the Apple Pay icon in iOS 14 directly below the text box. To open the Pay interface, tap this. You can choose any amount you wish to request or pay to that person.
Select the amount you wish to pay, click the button and then authenticate the transaction using Face ID, Touch ID or your passcode.
Trade-in your old phones with NIX and leave with a brand new phone. Remember, the NIX magic number is zero!! How close can you get? Come in and see. For the best deal possible, recycle your old phone with NIX and sign-up to our Premium Membership for even better prices and saving at NIX.